 Save
Save My mom's kitchen smelled like caramel and possibility on Saturday afternoons when she'd pull out the candy thermometer. Fudge was her quiet rebellion—this impossibly silky chocolate confection that required patience, precision, and just enough daring to know when to stop stirring. I watched her work countless times before I understood that fudge isn't really about the ingredients; it's about trusting the thermometer and knowing your pan will tell you everything you need to know.
I made this for my roommate's birthday and watched her face when she bit into a square—that moment of surprise and delight is exactly why I keep making fudge. She asked for the recipe that same day, and I realized that good fudge is the kind of gift that gets passed along, the kind people actually want to remake in their own kitchens.
Ingredients
- Unsalted butter (1 cup): Use real butter, not margarine—it's the foundation of that silky texture, and you'll taste the difference immediately.
- Whole milk (2/3 cup): The fat content matters here; it keeps your fudge tender and prevents it from becoming grainy or hard.
- Granulated sugar (3 cups): This is what you're cooking down to the exact right temperature, so don't skip the thermometer or eyeball it.
- Semi-sweet chocolate chips (2 cups): Quality matters—grab good chocolate if you can, and chop it smaller if you have a block instead of chips; it melts more evenly.
- Pure vanilla extract (1 tsp): A real vanilla extract adds warmth and depth that imitation can't quite match.
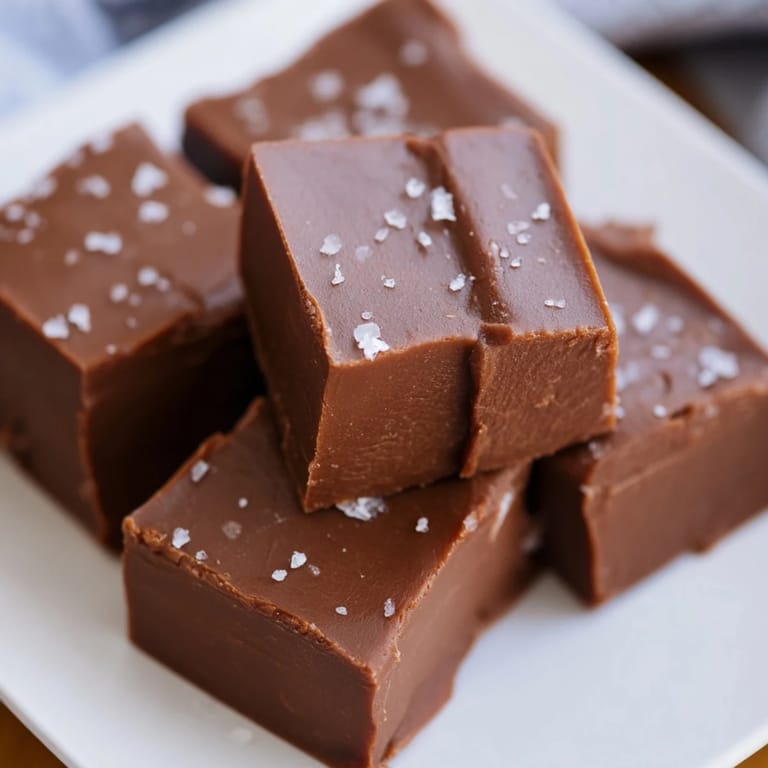
- Fine sea salt (1/4 tsp): This tiny amount brightens the chocolate without making fudge taste salty, trust it.
Tired of Takeout? 🥡
Get 10 meals you can make faster than delivery arrives. Seriously.
One email. No spam. Unsubscribe anytime.
Instructions
- Prepare your stage:
- Line an 8x8-inch pan with parchment paper, letting it hang over the edges—this is how you'll lift the whole block out without fighting it. Your workspace is half the battle.
- Combine and heat:
- Melt the butter in a heavy saucepan, then stir in sugar and milk until everything dissolves together. You want the mixture smooth before you bring it to a boil, so take a breath and let the heat do the work.
- Watch for the boil:
- Once it starts bubbling, keep stirring constantly to prevent the bottom from scorching. This is the moment where you can't look away or multitask.
- Hit the temperature:
- Clip that candy thermometer to the side of the pan and cook until it reads 238°F (the soft-ball stage)—about 10 to 15 minutes. The mixture will go from thin and bubbly to thicker and more amber-colored as it cooks, and you'll feel the difference when you stir.
- The magic moment:
- Remove from heat, add chocolate, vanilla, and salt all at once, then stir like your life depends on it until the chocolate completely melts and the mixture becomes glossy and thick. This vigorous stirring is where the fudge develops its creamy texture, so don't be gentle.
- Pour and smooth:
- Work quickly before the mixture sets; pour it into your prepared pan and smooth the top with a spatula so it's even. Speed matters here, but panic doesn't help.
- The patience test:
- Let it sit at room temperature for 2 hours until it's completely firm. If you're someone who doesn't like waiting, go do something else instead of hovering.
- Cut and serve:
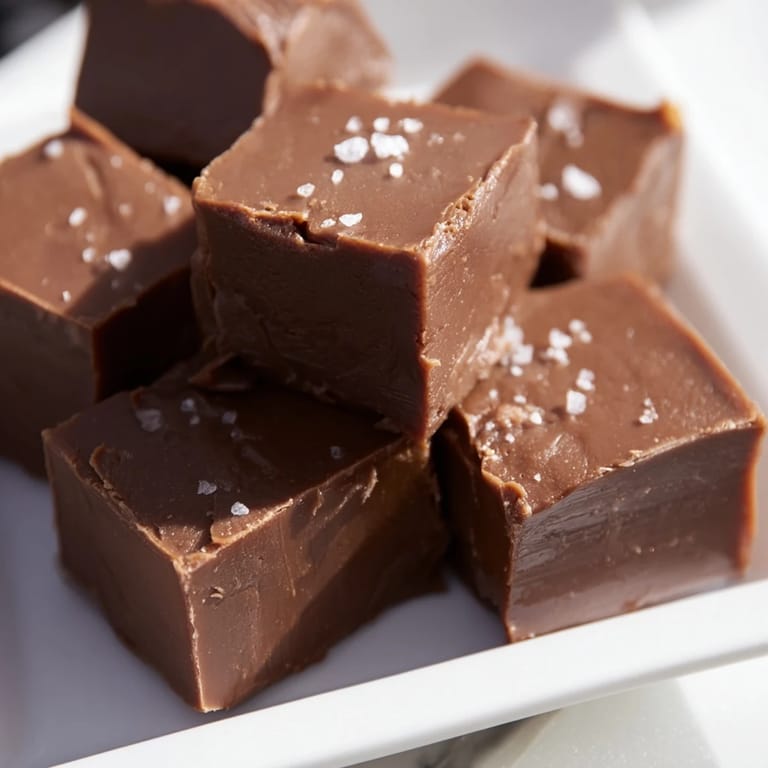
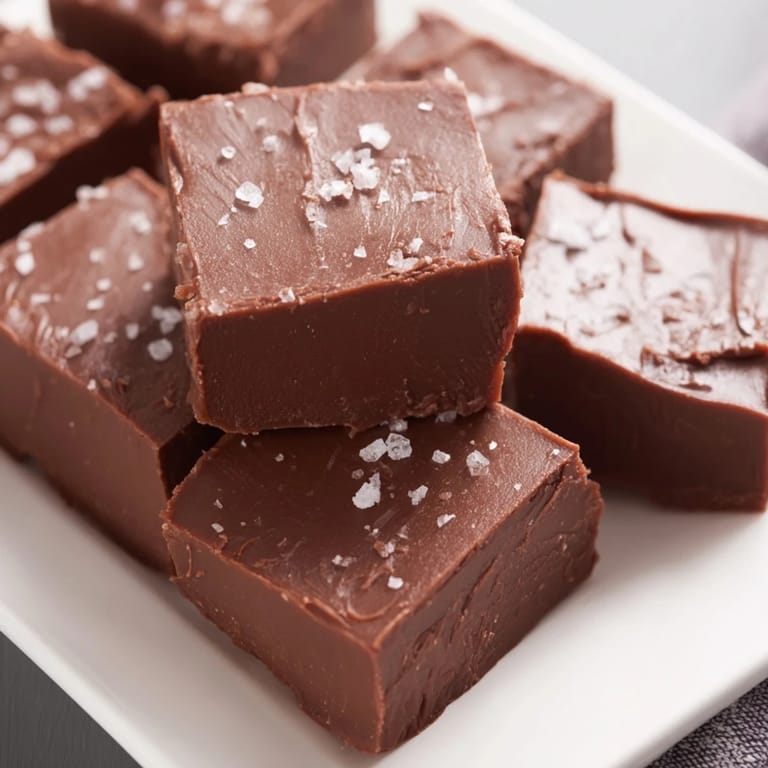
- Use the parchment overhang to lift the whole block out, then slice it into 36 squares with a sharp, thin-bladed knife, wiping the blade clean between cuts so you get clean edges.
 Save
Save There's something almost meditative about this recipe once you've made it a couple of times. I find myself thinking clearly while I'm stirring, watching the thermometer, waiting for that exact moment when it's done—it's the kind of recipe that asks you to be present, and that presence somehow makes it taste better.
Ways to Make It Your Own
Once you master the basic fudge, the variations are where the fun happens. Fold in toasted walnuts or pecans before pouring if you want nuttiness, swap dark chocolate for semi-sweet if you prefer something less sweet, or experiment with a tsp of espresso powder dissolved in the vanilla for subtle depth. I've also added 1/4 tsp of cinnamon for warmth and a pinch of cayenne when I'm feeling bold enough to surprise people. Each addition changes the fudge's personality without changing the method.
Texture and Temperature Tricks
If you prefer your fudge firmer—slicing into clean squares instead of slightly softer bites—chill it in the refrigerator for an hour after the room temperature set. Some people find this makes it easier to handle and slice, though it can make the fudge a tiny bit less silky on the tongue. The room temperature set gives you that classic melt-in-your-mouth moment, but the choice is yours depending on what texture you prefer and how patient you feel.
Storing and Sharing Your Fudge
Store fudge in an airtight container at room temperature—it keeps for up to two weeks, though honestly it rarely lasts that long. Layer it between parchment if you stack it so the pieces don't stick together, and keep it away from humidity since moisture is fudge's biggest enemy. Wrapped in pretty paper with a handwritten tag, it becomes the kind of gift people actually remember.
- If your fudge turns out grainy, you likely went above the soft-ball stage temperature—next time, pull it at 236°F and see if that helps.
- Trying to slice it and it's too soft? Pop it in the fridge for 15 minutes before cutting, or use a very hot, dry knife and wipe between each cut.
- Make sure your candy thermometer is accurate by testing it in boiling water first—a faulty thermometer is the silent saboteur of fudge dreams.
 Save
Save Fudge teaches you patience and precision in a way few recipes do, and once you've made it successfully, you'll have something to be genuinely proud of. It's the kind of dessert that transforms a simple afternoon into something a little bit special.
Questions & Answers
- → What is the soft-ball stage in cooking?
The soft-ball stage occurs when a sugar syrup reaches approximately 238°F (114°C). At this point, a small amount dropped in cold water forms a soft, flexible ball. It's essential for achieving the right fudge texture.
- → Can I substitute the chocolate used?
Yes, semi-sweet chocolate chips or chopped chocolate work well. You can also experiment with milk or dark chocolate to suit your taste preferences.
- → How can I add texture to this dessert?
Folding in chopped toasted walnuts or pecans before the mixture sets adds a pleasant crunch and nutty flavor.
- → What are the key tools needed for preparation?
A heavy-bottomed saucepan for even heating, candy thermometer for accuracy, and an 8x8-inch pan lined with parchment paper for easy removal are essential.
- → How should the confection be cooled and stored?
Allow it to cool at room temperature for about 2 hours until fully set. For a firmer texture, refrigerate for an additional hour before slicing.