 Save
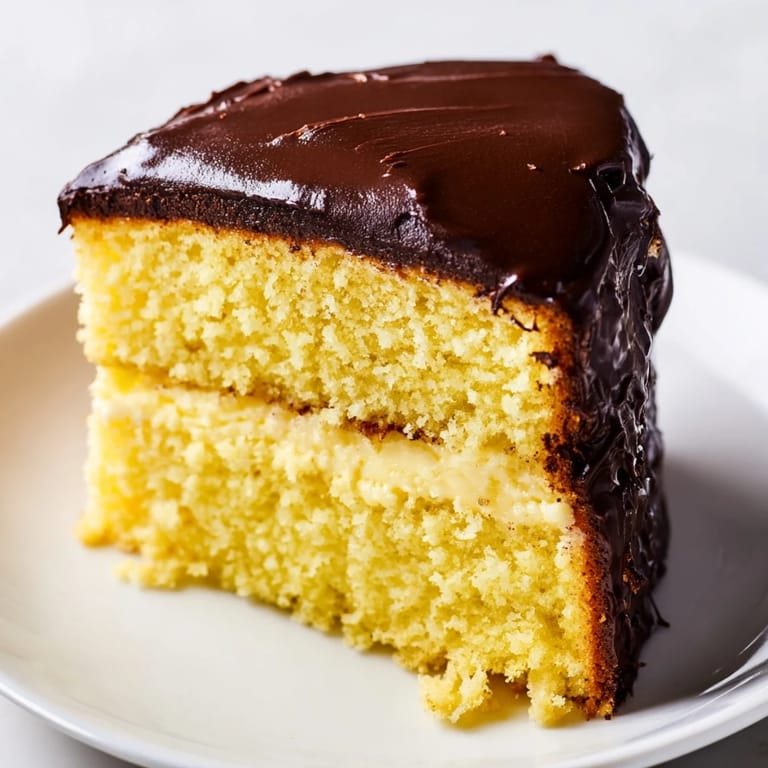
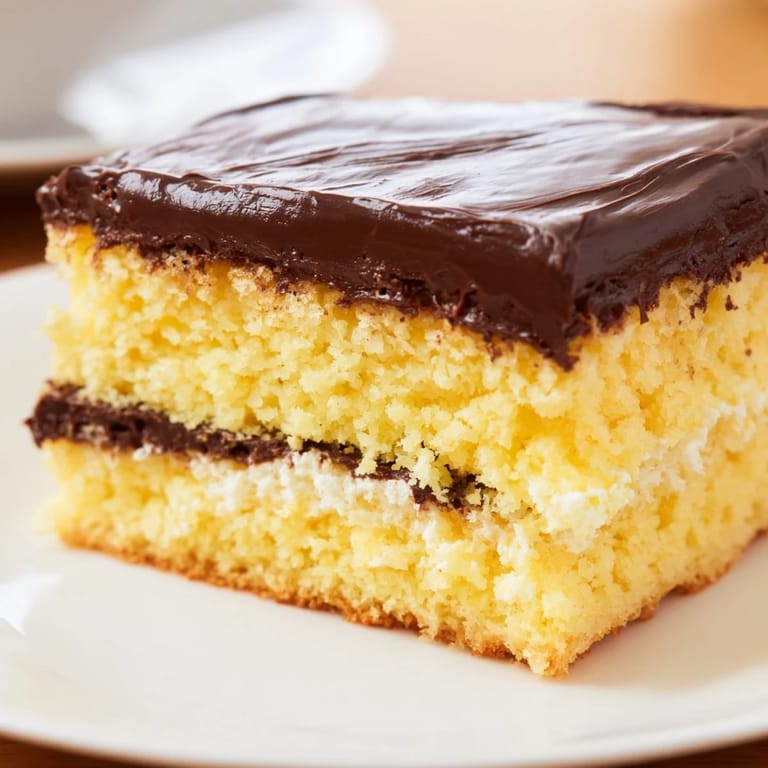
Save Ho Ho Cakes have this uncanny ability to transport you straight back to childhood, even if you didn't grow up eating them. I discovered this recipe late one night while scrolling through old family photos, landing on a picture of my mom's kitchen counter lined with these elegant chocolate-draped rectangles. There was something about the simplicity of a tender cake sandwiched with fluffy cream and crowned with dark chocolate that felt like both comfort and celebration at once. I decided to make them on a quiet Sunday afternoon, and by the time the ganache set, I understood why they'd been a staple for so long.
I made these for my coworkers one Friday, not expecting the reaction I got. Sarah came back to my desk ten minutes later and said, "Is this what nostalgia tastes like?" That question stuck with me. She wasn't being flowery—she was genuinely transported by something in the cake's simplicity. Watching people slow down to really taste something you've made, to let it settle on their tongue, reminded me that desserts are rarely just about sugar and flour.
Ingredients
- All-purpose flour: Two cups creates structure without being dense; it's the backbone that holds everything tender.
- Baking powder and baking soda: This pairing gives you the gentle rise that keeps the cake feathery light rather than cakey.
- Unsalted butter: For the cake and filling, use softened butter so everything incorporates smoothly; cold butter fights you here.
- Granulated sugar: One and a half cups in the cake and another cup powdered in the filling—the sugar is what makes this memorable, so don't skimp or substitute.
- Eggs: Room temperature eggs blend in easier and create a more tender crumb; I learned this after one too many lumpy batches.
- Vanilla extract: Real vanilla makes a noticeable difference in something this simple; the artificial stuff tastes tinny by comparison.
- Whole milk: The acidity balances the sweetness and keeps the texture impossibly soft.
- Heavy cream: Cold cream whips faster and fuller, which is essential for that ethereal filling.
- Semi-sweet chocolate chips: The ganache depends on decent chocolate; bargain chips never set quite right.
Tired of Takeout? 🥡
Get 10 meals you can make faster than delivery arrives. Seriously.
One email. No spam. Unsubscribe anytime.
Instructions
- Prep your pan and oven:
- Preheat to 350°F and grease your 9x13-inch pan with parchment paper. This small step saves you from broken cake layers later.
- Combine your dry ingredients:
- Whisk flour, baking powder, baking soda, and salt together in one bowl. This distributes the leavening evenly, which is why you do it separately and not guessing as you pour.
- Cream butter and sugar:
- Beat them together until they're pale and fluffy, about 2 or 3 minutes. You'll see the mixture lighten noticeably, and that's your signal that air has been incorporated—this is what makes the cake tender.
- Add eggs and vanilla:
- Add eggs one at a time, beating after each one so they blend in completely rather than sliding around in oily streaks. The vanilla comes in last, mixing just until combined.
- Build the batter:
- Alternate adding the flour mixture and milk, starting and ending with flour. Go slowly here—overworking the batter toughens the cake, so mix just until you don't see streaks of flour.
- Bake with patience:
- Pour into your prepared pan, smooth the top gently, and bake for 25 to 30 minutes until a toothpick comes out clean. The kitchen will smell like vanilla and butter doing their best work.
- Cool completely:
- Let the cake rest in the pan on a wire rack until it's genuinely cool to the touch. This takes longer than you think, but rushing this step leads to a crumbly mess when you try to layer it.
- Make the cream filling:
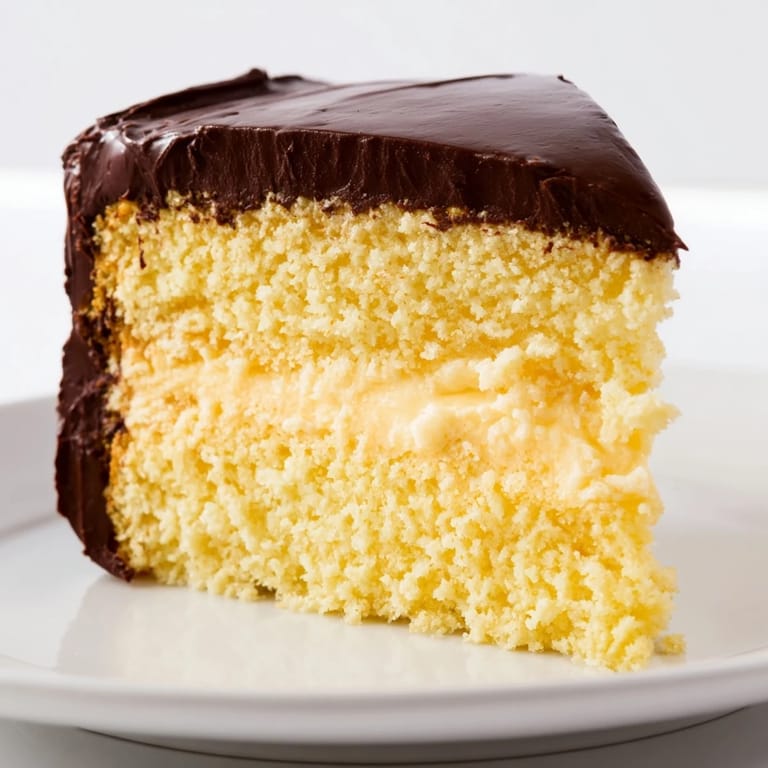
- Beat softened butter and powdered sugar until smooth, then whip cold cream with vanilla and salt to stiff peaks in a separate bowl. Fold the whipped cream into the butter mixture gently so you keep all that airiness intact.
- Layer the cake:
- Once the cake is cool, invert it onto a cutting board and use a long serrated knife to slice it horizontally into two even layers. Spread the cream filling over the bottom layer, then place the top layer back on like you're closing a book.
- Make the ganache:
- Heat heavy cream and butter until they simmer, pour over chocolate chips, wait 2 minutes, then stir until glossy and smooth. This moment feels almost meditative, watching the chocolate transform from gritty to silky.
- Glaze and set:
- Pour the warm ganache over the entire cake and spread it evenly, letting some drip down the sides if it wants to. Refrigerate for at least 30 minutes so the chocolate sets properly and the flavors settle.
 Save
Save There's a moment when you pour that chocolate ganache and watch it cascade over the pale yellow cake, creating these dark rivers that pool slightly at the edges. That's when I knew this dessert transcended being merely delicious—it became something worth making again and again, something worth sharing with people you care about.
The Magic of Tender Cake
The secret to this cake's tenderness isn't a single ingredient or technique, but a combination of choices. The baking soda reacts with the milk's acidity, creating lift that feels almost feathery. The butter and sugar are creamed together long enough to incorporate air, which expands in the oven and creates crumb structure that stays soft even days later. I've made this cake in three different kitchens over the years, and the technique holds true every time—proper creaming and not overmixing the batter are what separate a dense, crumbly cake from one that melts on your tongue.
Filling Options and Variations
While the recipe as written is nearly perfect, there are gentle variations that work beautifully. Marshmallow fluff folded into the cream filling creates something lighter and distinctly retro, almost like the actual Ho Ho snack cakes that inspired this dessert. For a tangier filling, a little cream cheese mixed into the butter base adds complexity without overwhelming the sweetness. I've also experimented with different extracts—almond extract instead of vanilla brings an unexpected sophistication, though vanilla remains the classic choice for good reason.
Storage and Serving Wisdom
This cake improves with a day of refrigeration, which is my favorite quality in a dessert. The flavors meld, the chocolate sets to a perfect snap, and the whole thing becomes more elegant with time. It stores covered in the refrigerator for up to three days, making it ideal for baking ahead when you're hosting. Slice with a sharp, warm knife for clean edges, and serve it alongside strong coffee or cold milk—the original pairing that still hasn't been improved upon.
- Slice the cake with a knife dipped in hot water and wiped clean between each cut for pristine presentation.
- Let slices sit at room temperature for five minutes before serving so the flavors brighten and the chocolate softens slightly.
- Make this cake up to a day ahead, cover it loosely, and refrigerate until you're ready to serve—it's honestly better that way.
 Save
Save This cake is proof that the most comforting desserts are often the simplest, built on technique rather than fancy ingredients. Make it for someone you care about and watch their face when they taste that tender crumb and fluffy filling together.
Questions & Answers
- → What makes the cake tender?
The tender texture comes from the balance of softened butter, eggs, and milk, combined with careful mixing to avoid overworking the batter.
- → How is the vanilla cream filling prepared?
The cream filling is made by whipping cold heavy cream with vanilla and salt, then folding it gently into a butter and powdered sugar mixture until smooth and fluffy.
- → What's the best way to slice the cake into layers?
Once the cake is completely cooled, use a serrated knife to carefully slice it horizontally into two even layers for even filling distribution.
- → How do you achieve a smooth chocolate ganache glaze?
Heat the heavy cream and butter until just simmering, then pour over chocolate chips and let sit briefly before stirring to create a glossy, smooth ganache.
- → How should the finished cake be stored?
Cover and refrigerate the assembled cake for up to three days to maintain freshness and texture.