 Save
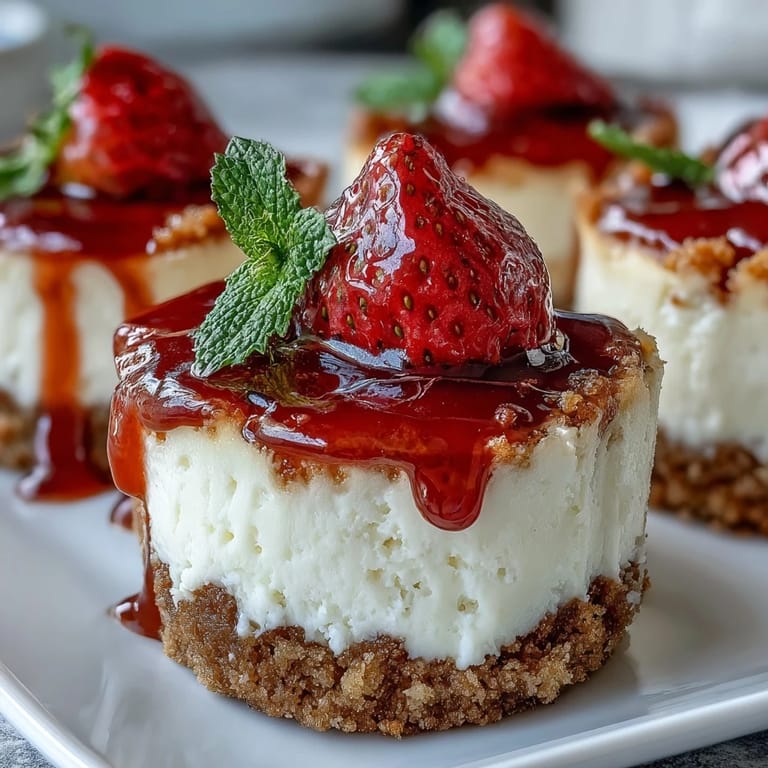
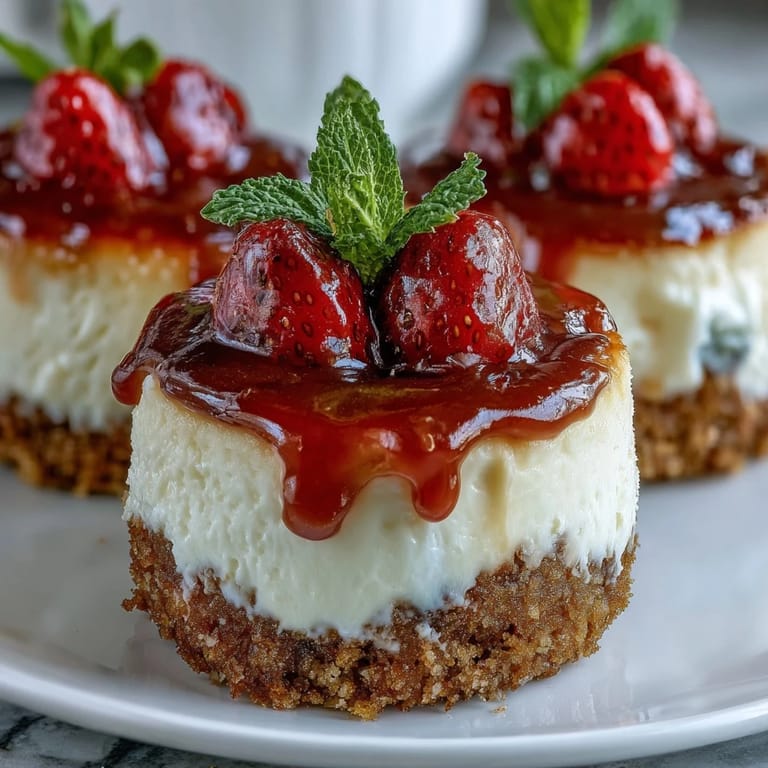
Save My neighbor handed me a plate of these tiny cheesecakes at her housewarming party, and I ate three in a row without thinking. That crisp graham cracker bottom gave way to creamy filling so perfectly balanced it felt almost unfair that something bite-sized could taste this complete. She laughed when she caught me eyeing the last one, and by the end of the night I had the recipe written on the back of a napkin. Now I make them whenever I need to feel like I've pulled off something impressive without actually spending hours in the kitchen.
I tested these for a birthday gathering where the birthday person had just moved into a new place, and watching people's faces light up when they bit into one never got old. Someone asked if I'd ordered them from a bakery, which is the highest compliment a homemade dessert can receive. I've made them at least a dozen times since then, and they've become my answer to "what can you bring?" for almost any occasion.
Ingredients
- Graham cracker crumbs: These form the foundation that holds everything together, and using fresh crumbs (not stale or overly processed) gives you a crust that stays crisp instead of turning to powder the moment someone bites into it.
- Granulated sugar for crust: Just a touch sweetens the base without overpowering, so the cream cheese filling becomes the star.
- Unsalted butter, melted: Melted butter distributes evenly through the crumbs and helps them bind, creating that satisfying crunch that makes these special.
- Cream cheese, softened: This is non-negotiable—softened cream cheese beats smoothly without lumps, and cold cream cheese will sabotage your entire filling with an uneven texture.
- Eggs: They set the filling and give it structure, but add them one at a time so they incorporate fully and you don't end up with a curdled mess.
- Sour cream: This adds tang and tenderness, preventing the cheesecake from becoming rubbery or dense.
- Vanilla extract, flour, and salt: Vanilla rounds out the flavor, flour keeps things from cracking, and salt amplifies everything without making it taste salty.
Tired of Takeout? 🥡
Get 10 meals you can make faster than delivery arrives. Seriously.
One email. No spam. Unsubscribe anytime.
Instructions
- Get your mise en place ready:
- Preheat the oven to 325°F and line your muffin tin with paper liners—this step might feel fussy but it saves you from scraped knuckles and cheesecakes stuck to the tin. Having everything measured and in front of you before you start means you won't accidentally grab salt when you meant to grab sugar.
- Make the crust:
- Mix graham cracker crumbs, sugar, and melted butter in a bowl until it looks like wet sand, then press about a teaspoon into each liner with the back of a measuring spoon. Don't skimp on pressing—a loose crust will shift when you pour the filling and create cracks.
- Prepare the filling:
- Beat softened cream cheese until it's completely smooth, then add sugar and mix until creamy and pale. Add eggs one at a time, beating briefly after each addition, then stir in sour cream, vanilla, flour, and salt until just combined—overbeating at this stage incorporates too much air and causes cracks.
- Fill and bake:
- Spoon filling into each liner until nearly full, then slide the tin into the oven for 18 to 20 minutes. The centers should look set but still have the tiniest jiggle when you gently shake the pan—they'll firm up as they cool.
- Cool gradually:
- Let them sit in the pan for 15 minutes before moving to a wire rack, which prevents the sudden temperature change that causes cracking. This waiting period tests your patience, but it's the difference between perfect cheesecakes and split ones.
- Chill thoroughly:
- Once they reach room temperature, refrigerate for at least an hour—overnight is even better—so the filling sets completely and the flavors meld. Cold cheesecake tastes infinitely better than room-temperature cheesecake.
- Finish with toppings:
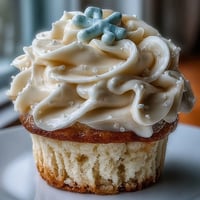
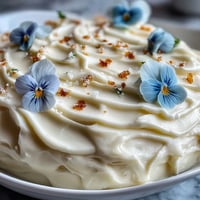
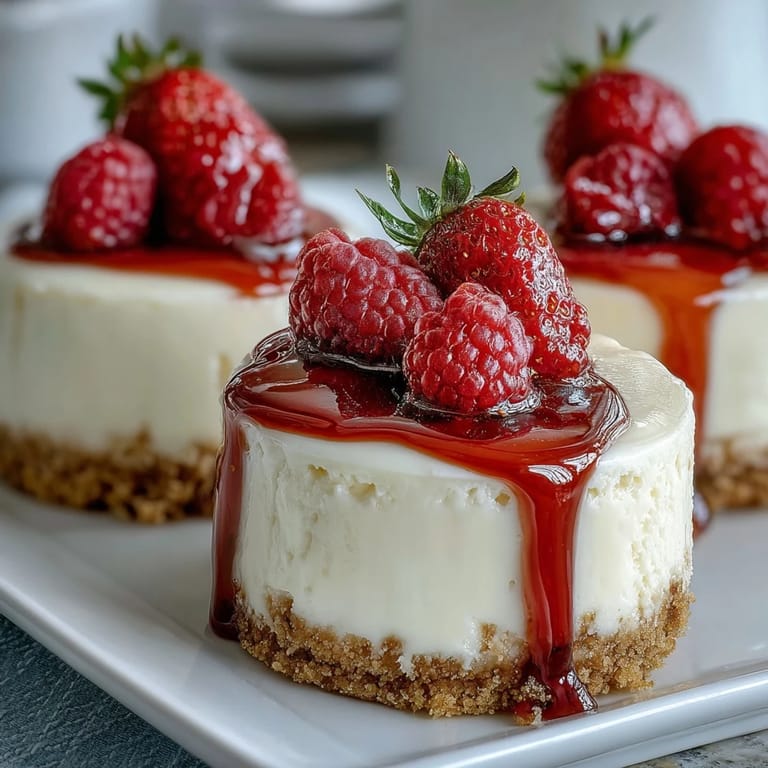
- Right before serving, add fresh berries, a spoonful of fruit preserve, a dollop of whipped cream, or chocolate shavings. This last-minute decoration keeps everything fresh and lets each person customize their own.
 Save
Save There was a moment during that first housewarming party when I watched three different people reach for one of these at the same time, and something clicked. Food that makes people compete for the last bite isn't just dessert—it's a small act of bringing joy into someone's new space. Every time I make them since, I think about that and how something this simple can mean something that much.
Troubleshooting Common Issues
Cracks forming on top usually come from overbaking or temperature shock, so resist the urge to leave them in longer than 20 minutes and let them cool gradually in the pan. If your filling seems lumpy after mixing, your cream cheese wasn't soft enough—live and learn, then invest in a softer start next time. Rubbery or dense cheesecakes mean you either overbeat the filling or didn't include the sour cream, which keeps everything tender and creamy.
Making Them Ahead
These are actually better when made a day or two ahead because the flavors settle and the filling firms up perfectly. Store them covered in the refrigerator, and they'll keep for up to four days without any quality loss. You can even top them an hour before serving so they stay fresh and colorful.
Endless Flavor Possibilities
Once you nail the basic recipe, the topping and flavoring variations become an adventure. I've made versions with lemon zest, a hint of almond extract, peppermint swirls, and even a salted caramel drizzle that people couldn't stop talking about. The filling is forgiving enough to handle these tweaks, so experiment and see what speaks to you.
- Lemon zest in the filling adds brightness without overpowering the creamy base.
- Swirl in a spoonful of jam or compote before baking for a surprise flavor burst.
- Top with fresh berries, chocolate, or caramel sauce just before serving so toppings stay fresh.
 Save
Save These little cheesecakes taught me that sometimes the most memorable foods are the simple ones you can actually pull off on a regular Tuesday. They've become my go-to for moments when I want to feel accomplished without the all-day stress.
Questions & Answers
- → How long should the mini cheesecakes chill before serving?
Chill the mini cheesecakes for at least 1 hour to allow them to set and develop a creamy texture.
- → Can I use gluten-free graham crackers for the crust?
Yes, substituting gluten-free graham crackers and flour works well for a gluten-free version without compromising flavor.
- → What toppings complement these mini cheesecakes?
Fresh berries, fruit preserves, whipped cream, or chocolate shavings all add delicious finishing touches.
- → What is the ideal baking temperature and time?
Bake at 325°F (160°C) for 18 to 20 minutes until centers are set but still slightly jiggly.
- → How can I add a citrus twist to the filling?
Try incorporating lemon zest into the filling mixture for a bright, citrusy flavor enhancement.
- → Are these mini cheesecakes suitable for vegetarians?
Yes, all ingredients used are vegetarian friendly, including cream cheese, eggs, and dairy components.