 Save
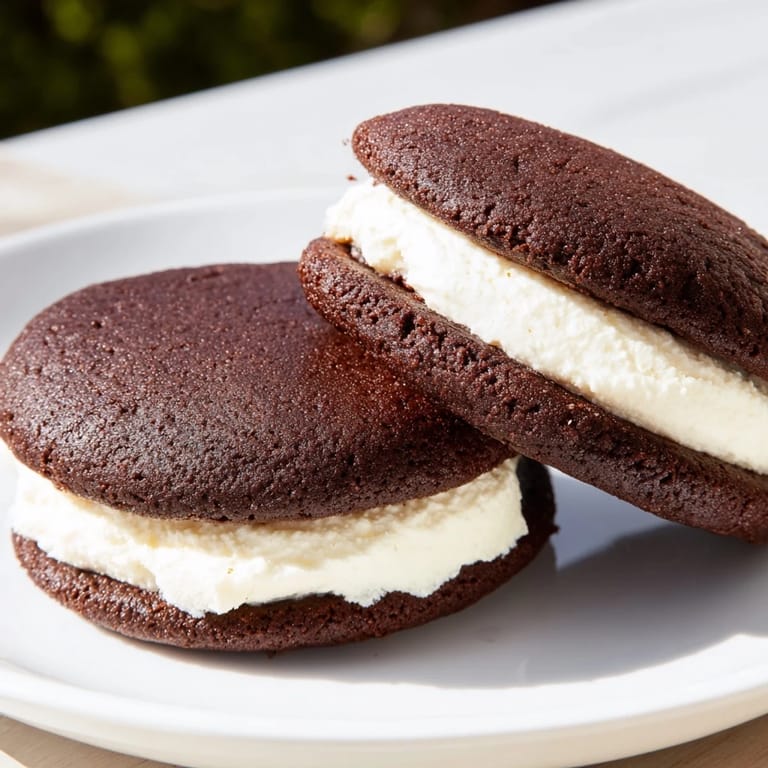
Save My grandmother kept a tin of these on her kitchen counter, and I'd sneak one whenever I visited, watching the marshmallow filling squish between my fingers before taking a bite. There's something about the way the soft chocolate cake gives way to that cloud-like vanilla filling that makes whoopie pies feel like edible nostalgia. Years later, I finally asked for her technique, and what surprised me most was how simple it actually is—just a few pantry staples and the willingness to let something warm turn into something perfect. Now I make them for my own kitchen moments, and somehow they taste even better when someone else's eyes light up at first bite.
I remember making a batch for a bake sale at my daughter's school, and a mom I'd never met before came up to me three days later just to ask if I'd make them again—apparently her kids had been asking about "those chocolate sandwich cookies." That's when I realized these weren't just treats; they were the kind of thing that makes people feel cared for. She's now my neighbor and we've made them together twice since.
Ingredients
- All-purpose flour (2 cups): The foundation here—it keeps the cakes tender without being too dense, so don't skip sifting it if your flour tends to be packed down.
- Unsweetened cocoa powder (¾ cup): This is where the chocolate story starts; choose a good quality powder because it makes a noticeable difference in depth and richness.
- Baking soda & baking powder: Together they create that perfect rise and crumb—the soda reacts with the buttermilk for lift, while baking powder ensures even baking.
- Granulated sugar (1 cup): Sweet but balanced; this amount lets the chocolate shine through rather than mask it.
- Unsalted butter (½ cup) & vegetable oil (½ cup): The combination gives moisture and tenderness; butter alone would make them denser, so both matter.
- Buttermilk (1 cup): The acidity tenderizes and adds subtle tang that complements chocolate beautifully.
- Marshmallow creme (7 oz jar): The magic ingredient—it creates that signature fluffy, cloud-like filling that makes these pies unmistakably whoopie pies.
- Powdered sugar (2 cups): Sift it; lumpy filling is grainy filling, and nobody wants that.
Tired of Takeout? 🥡
Get 10 meals you can make faster than delivery arrives. Seriously.
One email. No spam. Unsubscribe anytime.
Instructions
- Prep your pans and oven:
- Set the oven to 350°F and line two baking sheets with parchment paper—this prevents sticking and makes cleanup almost enjoyable. If you forget the parchment, you'll spend ten minutes with a spatula; trust me.
- Combine your dry ingredients:
- Whisk flour, cocoa powder, baking soda, baking powder, and salt in a medium bowl until everything is evenly distributed and the color is uniform. This step prevents lumpy batter and ensures the leavening agents work their magic consistently.
- Cream the butter and sugar:
- In a large bowl, beat the softened butter, sugar, and oil together until the mixture is noticeably lighter in color and fluffy—this should take about two to three minutes and means air is being incorporated. Stop occasionally to scrape down the bowl.
- Add eggs and vanilla:
- Drop in one egg at a time, beating well after each addition so it fully incorporates before the next arrives. Add vanilla and mix just until combined.
- Alternate wet and dry:
- This is the rhythm that keeps cakes tender: add a third of the flour mixture, then half the buttermilk, then another third flour, then the remaining buttermilk, and finally the last of the flour, beating gently after each addition. Starting and ending with flour helps stabilize the batter.
- Scoop onto pans:
- Using a cookie scoop or spoon, drop two-tablespoon-sized mounds onto the parchment, leaving about two inches between each one so they bake as separate cakes, not one connected mass. They'll spread slightly as they bake.
- Bake until springy:
- Bake for ten to twelve minutes—when you gently touch the top of a cake, it should spring back without leaving an indent, and a toothpick in the center comes out clean. They'll smell deeply chocolate.
- Cool with patience:
- Let them sit on the baking sheet for five minutes so they firm up enough to move, then transfer to a cooling rack to cool completely. Warm cakes plus warm filling equals filling that melts off—not ideal.
- Make the filling:
- In a clean bowl, beat softened butter until it's smooth and almost fluffy, then gradually add the sifted powdered sugar to avoid clouds of sugar dust. Once combined, gently fold in the marshmallow creme, vanilla, and salt, then beat for a minute until light and airy.
- Assemble the pies:
- Spread or pipe filling onto the flat side of half your cooled cakes, then top each with another cake, flat side down, creating a sandwich. You can pipe filling for a fancier look or spread it casually for a homier feel.
- Chill before serving:
- Pop them in the refrigerator for at least thirty minutes so the filling sets and the texture becomes that perfect balance of tender cake and creamy filling. They actually taste best this way.
 Save
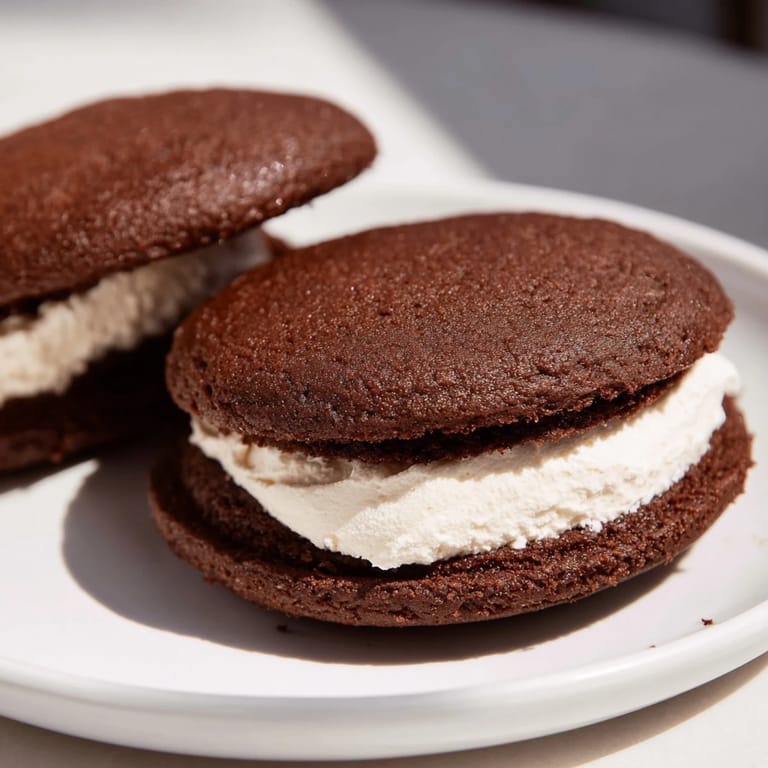
Save There's a moment when you bite into a properly made whoopie pie—that split second where the soft chocolate cake breaks between your teeth and the marshmallow filling is just cool enough to hold its shape but warm enough to be impossibly soft—and suddenly you understand why Pennsylvania Dutch bakers have been making these for generations. It's not just dessert; it's a small act of comfort wrapped in chocolate.
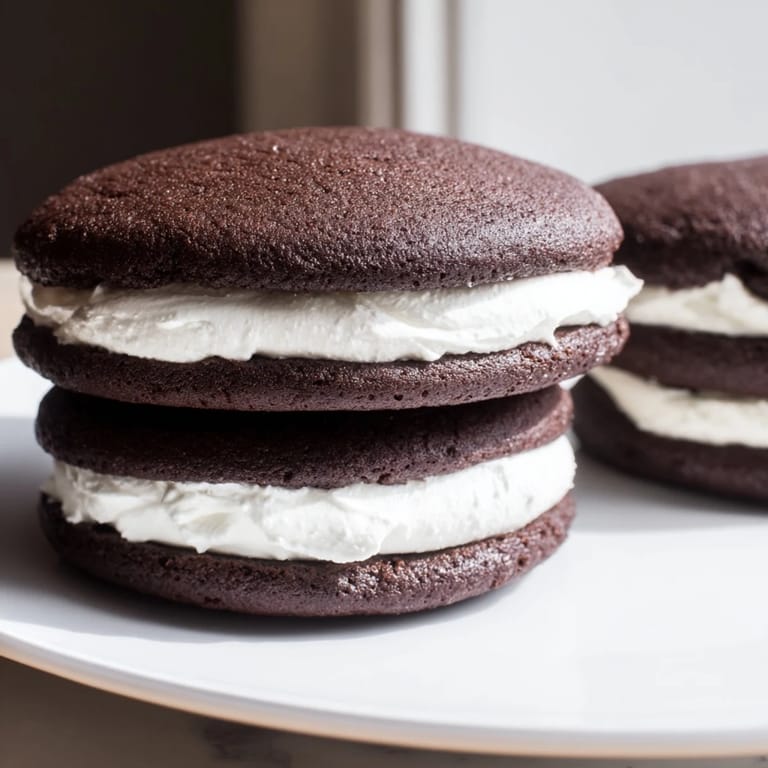
Why These Are Better Than Store-Bought
Homemade whoopie pies have a tender crumb that melts rather than crumbles, and the filling tastes like actual cream and vanilla instead of artificial sweetness. Store-bought versions are often dry, the cakes are either cakey or dense, and the filling sits rubbery in the middle. When you make them yourself, you control the balance—you can adjust sweetness, you know exactly what went into them, and you get to enjoy that smell filling your kitchen for an hour afterward.
Storage and Make-Ahead Tips
These keep beautifully in an airtight container at room temperature for up to three days, making them perfect for preparing ahead. You can even bake the cakes a day early and assemble them the morning you need them, or make the entire batch and freeze them unfilled for up to two weeks—just thaw and fill when you're ready. If you want to get fancy, individual parchment squares between each pie prevents them from sticking together and makes them feel like a gift to yourself.
Small Variations That Make Them Yours
The basic formula is flexible enough to play with—add a teaspoon of espresso powder to the cake batter for deeper chocolate notes, or swap the marshmallow filling for a darker chocolate ganache filling if you want elegance over sweetness. Some bakers use shortening instead of butter in the filling for a more authentic vintage taste, while others add a pinch of almond extract to the marshmallow filling for subtle complexity. The real joy is that once you've made them once, you'll start imagining your own twists and improvements.
- Espresso powder in the cake batter adds mystery without tasting like coffee.
- A tiny bit of salt in the filling balances sweetness perfectly and makes people ask what your secret is.
- Chilling them longer than thirty minutes gives an even better texture if you have the time.
 Save
Save Make these once and you'll understand why they're a classic—they're not complicated, but they feel special, and they taste like someone took the time to care. That's really all that matters.