 Save
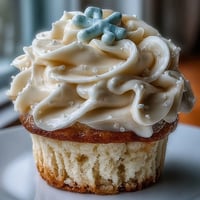
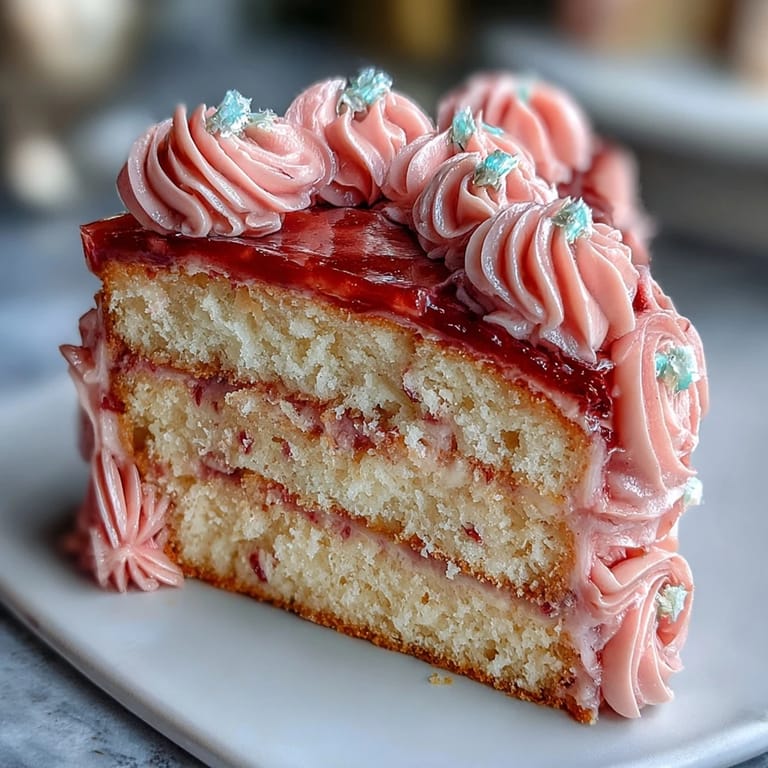
Save My sister called me three days before her birthday asking if I could bake something special, and honestly, I almost said no until she whispered that she wanted it to feel like spring, even though it was barely March and snow was still on the ground. That's when I decided on this vanilla cake with pastel buttercream flowers, something I'd never actually attempted before but felt completely necessary in that moment. Watching her face light up when she saw those soft pink and lavender piped blooms was worth every minute of planning and decorating. It became less about following a recipe and more about capturing a season she desperately needed to see.
I remember standing in my kitchen at midnight, after my kids had gone to bed, piping tiny lavender flowers onto a practice cake board just to get the feel for it, my hands shaking slightly because I wanted it to be perfect. There's something oddly meditative about decorating a cake when the house is quiet, when it's just you and the buttercream and the tiny piping tips that somehow cooperate better in the silence. By the time I finished the actual cake the next afternoon, I'd already made peace with imperfection, and that's when it started looking genuinely beautiful instead of stiff and over-thought.
Ingredients
- All-purpose flour (2 ½ cups): Make sure it's measured correctly by spooning and leveling, not scooping straight from the bag, because that one mistake taught me why so many of my earlier cakes turned dense and heavy.
- Baking powder (2 ½ tsp): Check the expiration date before you start, as old baking powder is the silent cake-killer nobody talks about until it's too late.
- Unsalted butter (1 cup for cake, 1 ½ cups for buttercream): Room temperature is non-negotiable here, so take it out of the fridge at least an hour before you begin, because cold butter refuses to cream properly and your mixture will be grainy.
- Granulated sugar (2 cups): This is what gives the cake its tender crumb, so don't try to substitute with anything fancy like coconut sugar, which will change the texture entirely.
- Eggs (4 large, room temperature): Cold eggs won't blend smoothly into the butter mixture and can cause the batter to look curdled, which nobody wants.
- Pure vanilla extract (1 tbsp for cake, 2 tsp for buttercream): Invest in real vanilla, not imitation, because the flavor difference is immediately noticeable and worth the few extra dollars.
- Whole milk (1 cup for cake, ¼ cup for buttercream): Room temperature milk incorporates into the batter without shocking the mixture or creating lumps.
- Powdered sugar (6 cups, sifted): Sifting isn't just a suggestion, it's the difference between grainy and silky buttercream, so take the two minutes to do it.
- Gel food coloring (pink, yellow, lavender, green, blue): Gel colors are more potent than liquid, so you need way less, which means they won't thin out your buttercream like liquid coloring does.
- Edible flower petals and sprinkles (optional): These are finishing touches that make people think you're more skilled than you actually are, so don't skip them if you want the wow factor.
Tired of Takeout? 🥡
Get 10 meals you can make faster than delivery arrives. Seriously.
One email. No spam. Unsubscribe anytime.
Instructions
- Prepare your workspace and pans:
- Preheat the oven to 350°F and grease three 8-inch round pans with butter or cooking spray, then line the bottoms with parchment paper. This extra step prevents sticking and gives you clean cake edges that look intentional rather than accidental.
- Mix your dry ingredients:
- Whisk together flour, baking powder, and salt in a medium bowl until they're evenly distributed. I like to whisk for about thirty seconds longer than feels necessary, which sounds silly but ensures the baking powder isn't clumpy.
- Cream butter and sugar:
- Beat room-temperature butter and sugar on medium-high speed for three to four minutes until it looks pale, fluffy, and almost moussey. This step is where the magic happens, because you're incorporating air into the butter that will make your cake tender instead of dense.
- Add eggs one at a time:
- Drop in each egg individually and beat well after each addition, waiting about thirty seconds between eggs to let everything combine smoothly. Rushing this step is when your mixture starts looking curdled and separated, which looks scary but still works.
- Mix in vanilla:
- Add vanilla extract and beat for another minute until the mixture looks completely smooth and homogeneous.
- Alternate flour and milk:
- Start with flour, then milk, then flour again, always starting and ending with flour, and mix on low speed just until each addition disappears. Overmixing at this stage is the enemy because you'll develop gluten and end up with a tough cake, so show restraint even though your instinct is to beat it until it's perfect.
- Divide and smooth:
- Pour the batter evenly into your three pans and smooth the tops with an offset spatula so they bake level. Uneven batter means uneven layers, which means your finished cake will lean like the Tower of Pisa.
- Bake until golden:
- Bake for twenty-five to thirty minutes until a toothpick inserted in the center comes out clean or with just a few moist crumbs. Every oven is different, so start checking at twenty-five minutes rather than trusting the timer blindly.
- Cool with patience:
- Let the cakes rest in the pans for ten minutes so they firm up slightly, then turn them out onto wire racks to cool completely. This cooling step is when people get impatient and try to frost warm cake, which is a guaranteed disaster because the buttercream melts right off.
- Make your buttercream:
- Beat room-temperature butter until creamy, then gradually add sifted powdered sugar, milk, vanilla, and salt, beating for three to four minutes until it's fluffy and spreadable. The gradual addition of sugar prevents clouds of powdered sugar from exploding everywhere.
- Tint your buttercream:
- Divide the buttercream into separate bowls and add gel food coloring a tiny drop at a time, mixing thoroughly between additions. Gel coloring is potent, so I usually start with toothpick dabs and build the color gradually rather than dumping and regretting.
- Layer and crumb coat:
- Place the first cake layer on your serving plate, spread buttercream on top, add the second layer, spread, and add the third layer. Then apply a thin layer of buttercream all over the cake to seal in crumbs and chill for twenty minutes.
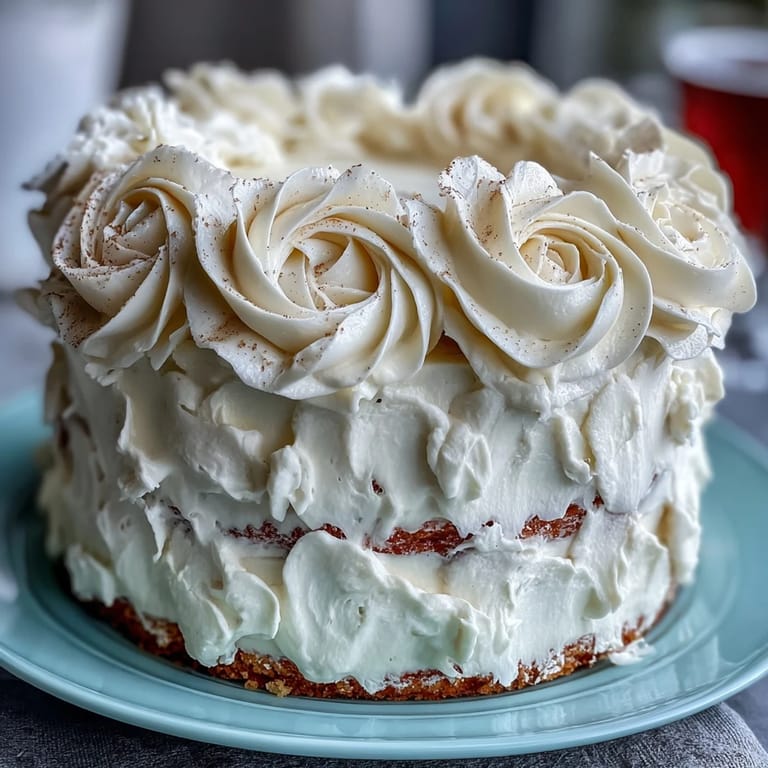
- Decorate with piped flowers:
- Fill piping bags with different pastel buttercreams and use various tips to pipe floral designs across the cake, working from the bottom up so you don't smudge earlier designs. This is where having steady hands helps, but honestly, slightly imperfect flowers look more organic and charming than perfectly executed ones anyway.
- Final chill and serve:
- Chill the finished cake for fifteen to twenty minutes so the buttercream sets and holds its shape during transport or display. This final chill is essential if you're moving the cake or if your kitchen is warm, because warm buttercream will slide right off.
 Save
Save I watched my sister's friends huddle around the cake at her party, taking photos before anyone cut into it, and I realized that the best recipes are the ones that make people pause and really look at what you've made. There's a moment right before someone tastes your food where they can see the care you put into it, and that moment is worth all the early morning prep and late-night practice piping, every single time.
Why Vanilla Works Magic Here
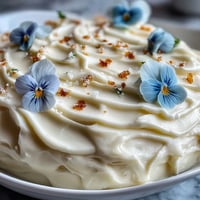
Vanilla might seem boring until you actually taste a really good vanilla cake, and then you understand why it's considered a classic instead of a cop-out. The simplicity of vanilla lets the tender crumb and buttery flavor shine through without competing flavors, and it's the perfect canvas for those delicate pastel decorations that would clash with anything more assertive. I used to think vanilla was the coward's choice until I made this cake and realized it's actually the bravest decision because it has nowhere to hide if you mess up the technique.
The Buttercream Difference
American buttercream is basically butter beaten until fluffy and mixed with powdered sugar, which sounds simple until you realize how much technique matters in getting it just right. The key is beating the butter until it's pale and creamy before you add the sugar, because if you skip that step, you end up with grainy frosting that feels gritty in your mouth no matter how long you beat it after. I learned this the hard way when I tried to rush through a batch and ended up scraping it back into the mixer for another five minutes of beating, which worked but was unnecessarily stressful.
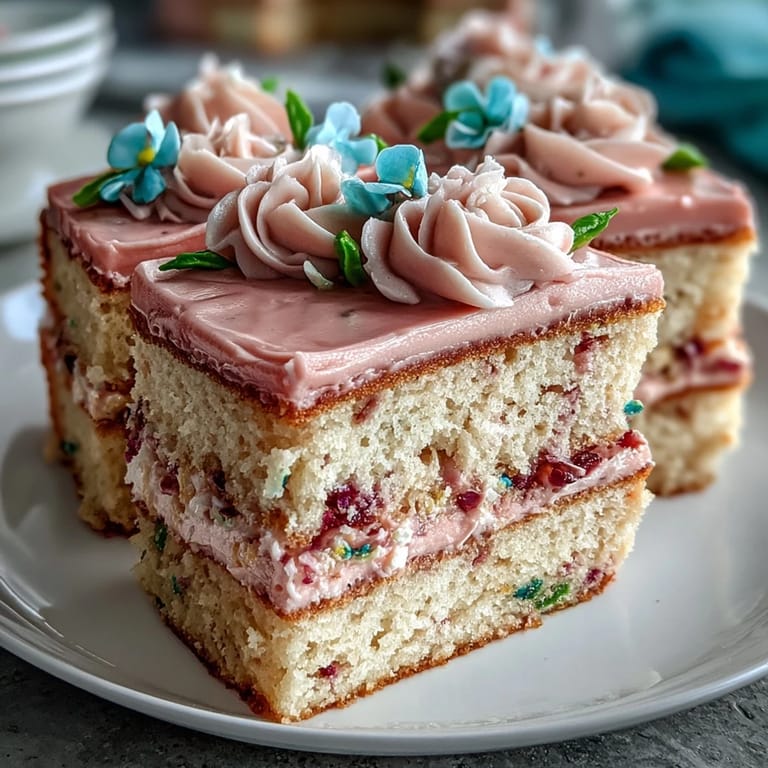
Decorating Without Panic
The secret to decorating without looking like you need a professional degree is to practice on parchment paper first, which lets you wipe away mistakes and try again until your hands understand the motion. Once you get the piping motion down, you can create flowers that look intentional, and even if some are slightly wonky, they read as charming rather than amateur. The pastel colors help disguise any imperfections because softer hues photograph beautifully and make the whole cake look romantic and spring-like even if your piping wasn't perfectly precise.
- Practice piping shells, dots, and simple flowers on parchment before you touch the actual cake so your hands know what they're doing.
- Keep a small spatula nearby to gently smooth over any piping mistakes while the buttercream is still soft enough to manipulate.
- Work quickly once you start decorating because warm buttercream is easier to pipe with than cold buttercream that's been sitting out.
 Save
Save This cake is the kind of recipe that gets better each time you make it, because you learn where your instincts need to kick in and when to trust the process. Make it once for someone you want to impress, and you'll be making it for every celebration after that.
Questions & Answers
- → What type of flour is best for this cake?
All-purpose flour is recommended for a balanced texture that supports tender crumb formation.
- → How do I achieve smooth pastel buttercream colors?
Divide the buttercream and add gel food coloring gradually until the desired soft pastel shade is reached.
- → Can I use different flavor extracts?
Yes, lemon or almond extracts can be added to the batter to enhance the cake's flavor profiles.
- → What is the best way to ensure even baking across layers?
Use identical sized pans, fill them evenly, and avoid overmixing the batter. Bake until a toothpick comes out clean.
- → How should I store the finished cake?
Keep the cake refrigerated to maintain buttercream stability, preferably covered to prevent drying.