 Save
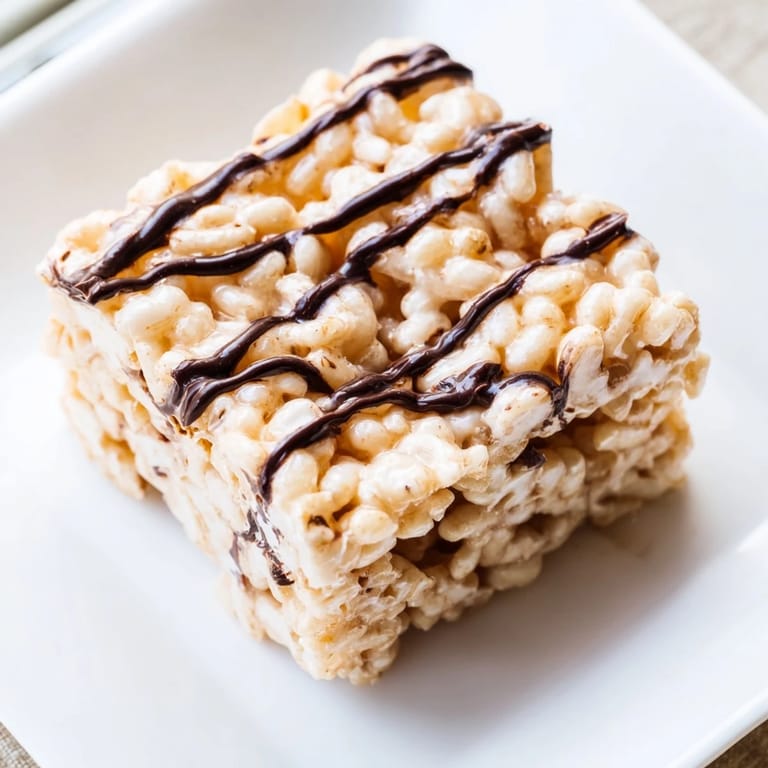
Save There's something about the smell of melting marshmallows that instantly takes me back to my aunt's kitchen on lazy Sunday afternoons. She'd make these Rice Krispie treats while we watched old movies, and the whole house would fill with that sweet, buttery aroma that somehow felt like comfort in its purest form. What I loved most wasn't just eating them—it was watching her work with such ease, as if she'd made them a thousand times before. The way she'd press the hot mixture into the pan with a buttered spatula, moving quickly but never frantically, made it look effortless. Now whenever I make them, I find myself moving exactly the same way, even though she never wrote down a recipe.
I made these for my son's school bake sale once, and I doubled the batch thinking I'd have extras to test the quality. I didn't—they disappeared almost before I finished cutting them. One girl came back the next day asking if I could make them weekly. That moment taught me that sometimes the simplest recipes leave the biggest impression.
Ingredients
- Puffed rice cereal (6 cups): Rice Krispies are the classic choice, but any plain puffed rice cereal works; avoid frosted or heavily flavored varieties because they'll compete with the marshmallow sweetness.
- Mini marshmallows (4 cups): Mini ones distribute more evenly than large ones, giving you that consistent texture in every bite; they also melt faster and more smoothly.
- Unsalted butter (3 tbsp): This prevents the treats from being too salty and lets the marshmallow flavor shine; it also helps the mixture spread more easily.
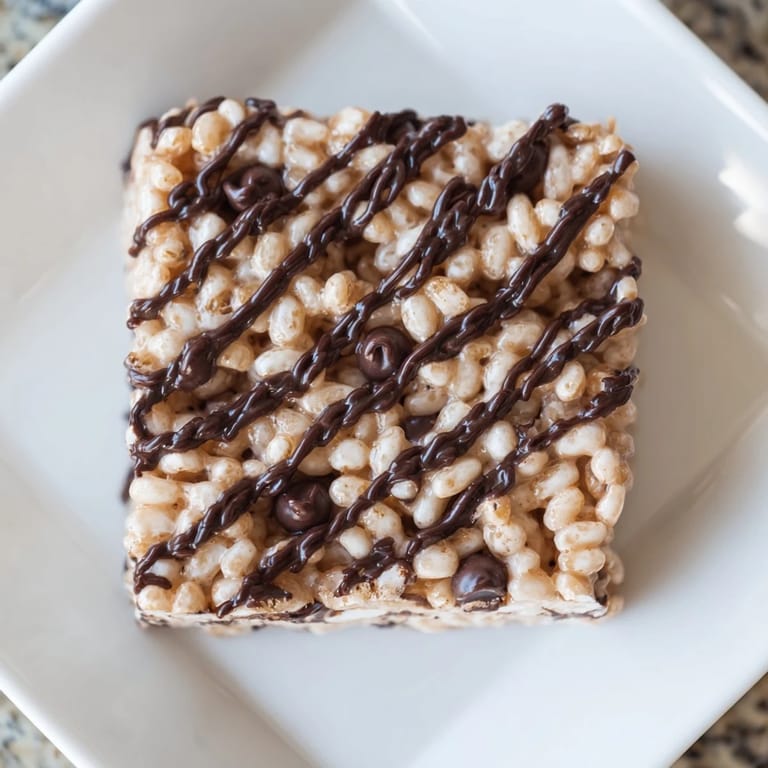
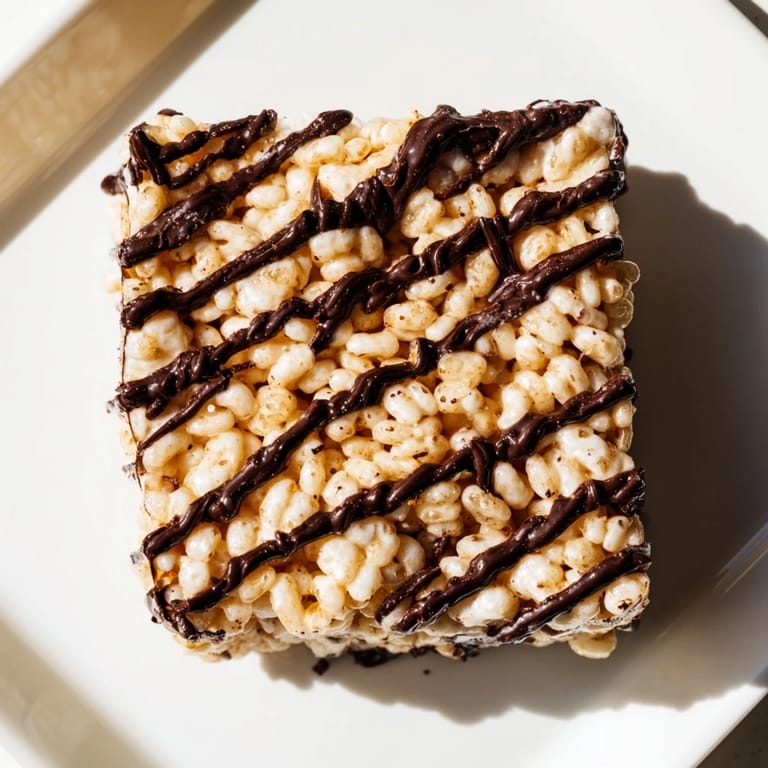
- Semi-sweet chocolate chips (1 cup, optional): The optional topping adds richness without overwhelming the delicate crispy-chewy balance of the base.
Tired of Takeout? 🥡
Get 10 meals you can make faster than delivery arrives. Seriously.
One email. No spam. Unsubscribe anytime.
Instructions
- Set your stage:
- Line your 9x13-inch baking pan with parchment paper or a light grease coating—this step saves you from frustration later when you're trying to extract warm treats from a sticky pan. Having everything ready before you start heating means you can work quickly once the marshmallows are melted.
- Melt butter and marshmallows:
- Place your saucepan over low heat, add butter, then marshmallows, and stir constantly until the mixture is completely smooth and pourable. This should take about 3-4 minutes; the key is low heat, which prevents the marshmallows from browning or becoming grainy.
- Combine with cereal:
- Remove the pan from heat immediately and add all your cereal at once, then gently fold with a spatula until every piece is coated in the marshmallow mixture. Working quickly here prevents the mixture from cooling and becoming difficult to fold.
- Press into the pan:
- Transfer the mixture to your prepared pan and use a buttered spatula or your hands wrapped in wax paper to press it down firmly and evenly. Don't skip the buttering step—it prevents sticking and gives you more control.
- Add chocolate topping (if using):
- Melt chocolate chips in 30-second microwave intervals, stirring between each burst until smooth and pourable. Spread it quickly over the warm cereal mixture for the best adhesion.
- Cool and cut:
- Let everything sit at room temperature for at least 30 minutes until completely set before cutting. Use a sharp knife, wiping it clean between cuts for neat, professional-looking squares.
 Save
Save The best part of making these treats is always the moment someone takes that first bite and their face just lights up. It's such a simple thing—puffed rice, marshmallow, butter—but it carries so much joy in something that takes barely any time to make.
When Life Calls for These Treats
Rice Krispie treats are the ultimate convenience dessert for people who panic at the last minute. Birthday parties, potlucks, office events, or just a Tuesday when you want to feel like you made something special—they adapt to every situation. They're also forgiving enough to make with kids, since there's no baking involved and the steps are straightforward enough that even small hands can help with the folding and pressing.
Making Them Your Own
The beauty of this recipe is how adaptable it becomes once you understand the base technique. Some people swear by adding vanilla extract after the marshmallows melt, which gives them a subtle depth. Others experiment with different toppings—peanut butter drizzled on top adds richness, while butterscotch chips create something almost caramel-like. I once made a batch with crushed candy canes mixed into the marshmallow mixture for a holiday version, and it became an instant tradition.
Storage and Keeping Them Fresh
These treats are best eaten within a few days of making them, as they gradually lose their crispy exterior over time. Store them in an airtight container at room temperature, and they'll stay good for about three to four days before they start to soften. I've found that layering them between parchment paper prevents them from sticking together, which makes grabbing a square whenever you want much easier.
- Keep them in an airtight container to prevent them from drying out completely while still maintaining some of their crispy texture.
- If they start to soften, you can crisp them back up by spreading them on a baking sheet and warming them in a 300°F oven for just a few minutes.
- They freeze beautifully for up to two months, though defrosting them requires patience to avoid condensation making them sticky.
 Save
Save These treats remind me that the best memories around food aren't always about complicated recipes or fancy techniques—sometimes they're just about showing up with something made by hand. That's the real magic.
Questions & Answers
- → What type of cereal is used for the crispy squares?
The base uses puffed rice cereal, which provides the crisp texture essential for the treat.
- → Can I add chocolate to these squares?
Yes, melting and spreading semi-sweet chocolate chips on top adds a rich, indulgent layer.
- → How do I prevent the mixture from sticking to the pan?
Line the baking pan with parchment paper or lightly grease it before pressing in the mixture.
- → Is there a way to vary the flavor of the squares?
Adding vanilla extract or swirling in peanut butter or butterscotch chips can enhance flavor complexity.
- → How long should these squares cool before cutting?
Allow the squares to cool at room temperature for at least 30 minutes to set properly.
- → Can I make these squares vegan?
Substitute vegan marshmallows and plant-based butter to accommodate a vegan diet.